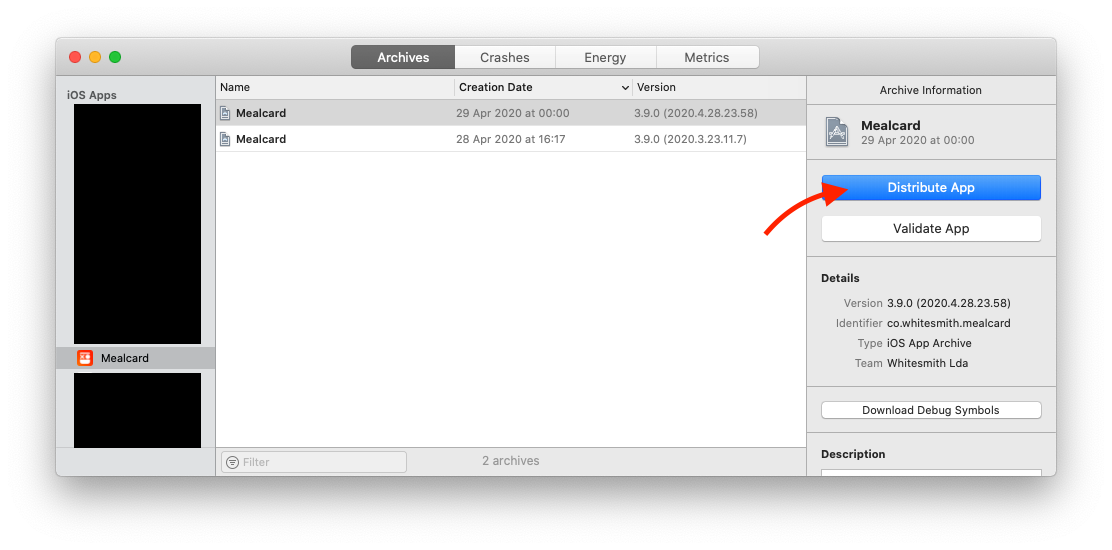
Distribute your iOS app using a public link
07 May 2020 - Ricardo PereiraThere are many services that help you distribute your app just with a simple public link. Even TestFlight now supports distributing beta’s using a public link but only for versions that have been reviewed by Apple. But, sometimes, we just want to send a quick prototype and avoid Apple reviews or other services that can be more time expensive. OTA is one of the ways!
OTA or Over-The-Air distribution
Apple allows you to distribute an archive of your app up to 100 different devices for testing purposes only, without relaying on the App Store or TestFlight. You just need to setup an Ad Hoc distribution profile that authorizes a limited set of devices to run your app.
To use the ad hoc distribution, create an archive of your app using Xcode. It will open the Organizer with the archive selected. To simplify things, we should let Xcode manage the signing automatically. It’s crucial you add the UDID of the device that should run your prototype in the Apple Developer account, in the Certificates, Identifiers & Profiles section. Xcode will re-sign the archive for Ad Hoc distribution with that device list so that the system can validate the device and accept it for installation.
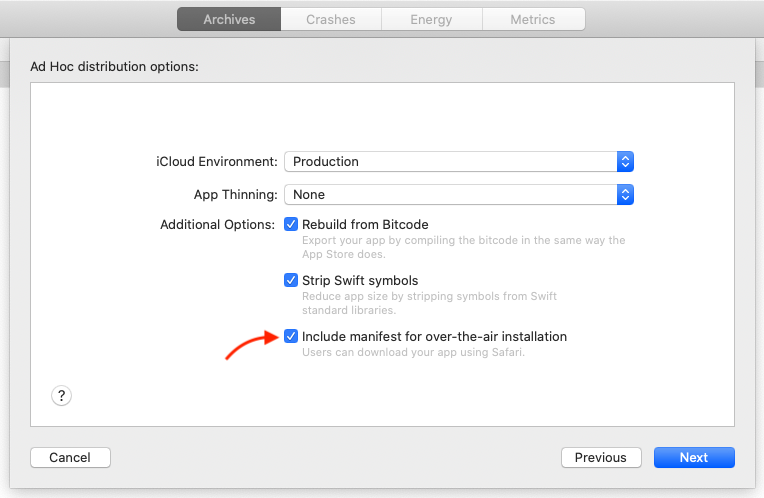
Hit the Distribute App button to export the archive. Don’t forget to select the option “Include manifest for over-the-air installation”.
The manifest is basically a .plist file with the necessary information for the app installation. Here is an example:
<?xml version="1.0" encoding="UTF-8"?>
<!DOCTYPE plist PUBLIC "-//Apple//DTD PLIST 1.0//EN" "http://www.apple.com/DTDs/PropertyList-1.0.dtd">
<plist version="1.0">
<dict>
	<key>items</key>
	<array>
		<dict>
			<key>assets</key>
			<array>
				<dict>
					<key>kind</key>
					<string>software-package</string>
					<key>url</key>
					<string>https://whitesmith.co/apps/mealcard-beta.ipa</string>
				</dict>
				<dict>
					<key>kind</key>
					<string>display-image</string>
					<key>url</key>
					<string>https://whitesmith.co/apps/mealcard-57x57.png</string>
				</dict>
				<dict>
					<key>kind</key>
					<string>full-size-image</string>
					<key>url</key>
					<string>https://whitesmith.co/apps/mealcard-512x512.png</string>
				</dict>
			</array>
			<key>metadata</key>
			<dict>
				<key>bundle-identifier</key>
				<string>co.whitesmith.mealcard</string>
				<key>bundle-version</key>
				<string>3.9.0</string>
				<key>kind</key>
				<string>software</string>
				<key>platform-identifier</key>
				<string>com.apple.platform.iphoneos</string>
				<key>title</key>
				<string>Mealcard</string>
			</dict>
		</dict>
	</array>
</dict>
</plist>
The manifest file is the key of OTA distribution. It contains the path of the .ipa file that needs to be installed.
Since Xcode 10, the manifest file can be generated directly in the Organizer during the export process. You need to fill the form with the path of the .ipa file, a display image of 57x57 and a full size image of 512x512, both images in .png. This .ipa should be hosted and accessible.

You can change the manifest later after the export succeed by editing the manifest.plist file, so don’t worry if you don’t know where to host the .ipa. Continue the export by hitting next and choose “Automatically manage signing”. Export!

After the succeeded export, open the folder that has been created. You can see the manifest.plist and the .ipa file. Those are the files you need to upload in your defined host to be available with a public link. You should change the name of the manifest.plist file to match the name of your .ipa file. I usually upload them using a FTP client and I put them together in the same location, something like:
https://whitesmith.co/apps/mealcard-beta.plist
https://whitesmith.co/apps/mealcard-beta.ipa
https://whitesmith.co/apps/mealcard-512x512.png
https://whitesmith.co/apps/mealcard-57x57.png
Upload your
.ipafile and plist file to a SSL enabled server. If you don’t have an SSL enabled server, you can upload the.plistfile to your DropBox account while keeping the.ipafile on your non-SSL enabled server.
Now, you just need to send a link to the person who needs to check your prototype 😊 , something like this: itms-services://?action=download-manifest&url=https://whitesmith.co/apps/mealcard-beta.plist. This link needs to be open in the iPhone/iPad. Safari will interpret the download action and install the app.
That’s it. Have in mind that you can create a basic HTML page with a link like <p>Open this in your iPhone/iPad!</p><a href="itms-services://?action=download-manifest&url=YOUR-UPLOADED-PLIST-FILE.plist">Click here</a>.
If you are interested in more about the Apple ecosystem, then follow me on Mastodon.
Thank you for reading,
Ricardo Pereira